
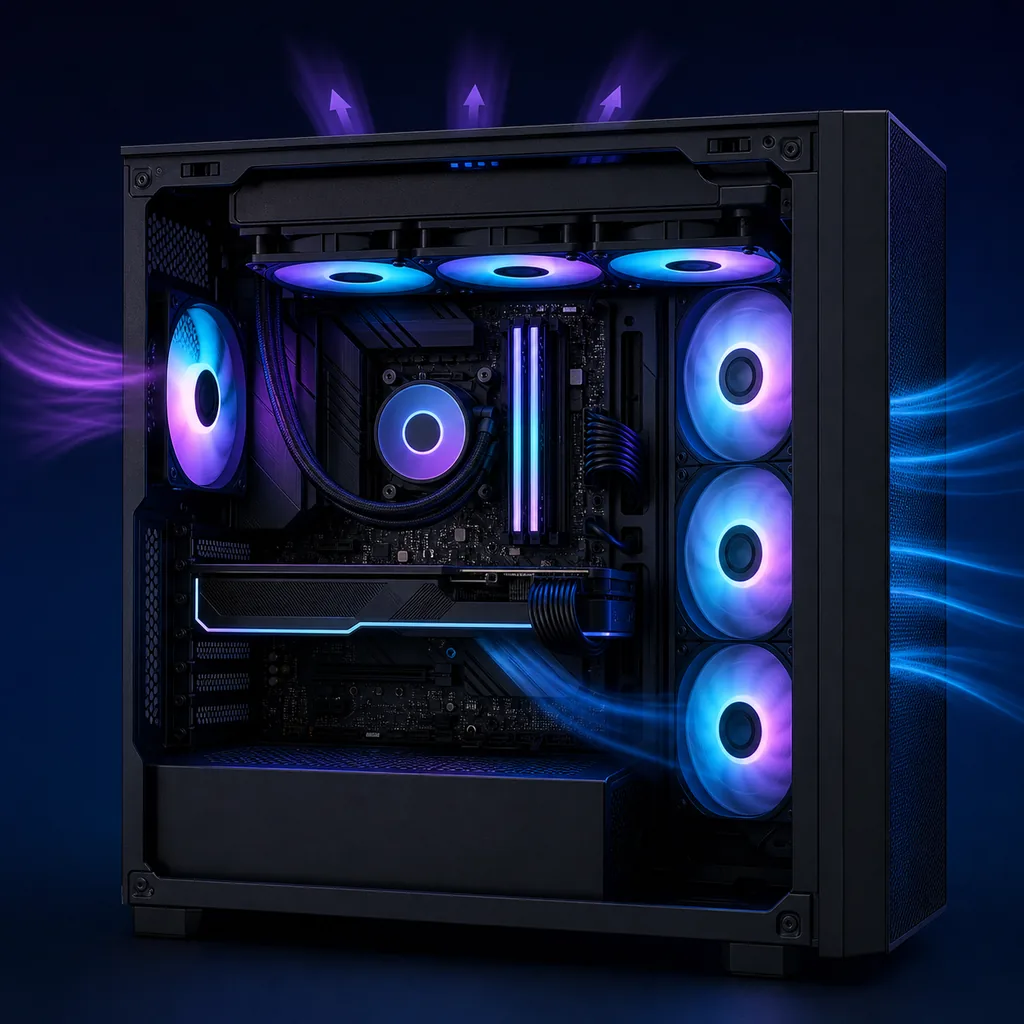
How iCUE fan control works
iCUE does not control every fan connected to a PC. The fan must be exposed through a supported Corsair device such as a Commander controller, an iCUE LINK hub, or a compatible cooler. A fan connected only to a motherboard header is normally controlled by BIOS or the board vendor utility.
The cooling tab combines a device channel, a temperature source, and a response profile. If one is wrong, the fan may stay at one speed, react to the wrong workload, or disappear from the software.
| Connection | Usually controlled in | Verify |
|---|---|---|
| Corsair controller or iCUE LINK hub | iCUE | Device, port, firmware and USB |
| AIO pump or radiator channel | iCUE when supported | Pump mode, coolant sensor and fans |
| Motherboard fan header | BIOS or motherboard app | PWM/DC mode and header curve |
| GPU built-in fans | GPU firmware/vendor app | Zero-RPM and GPU temperature |
Build a safe iCUE fan curve
Begin with Balanced and observe idle temperature, gaming temperature, and fan RPM. A useful custom curve rises in stages instead of jumping sharply whenever a sensor changes by one degree. Keep the first points quiet, add airflow through the middle, and reserve high speed for sustained heat.
For liquid coolers, coolant temperature is often smoother than CPU package temperature. Case fans can use coolant, CPU, GPU, or another available sensor depending on which component creates the heat you need to remove.
- 1
Choose the channel
Open the cooling device and identify the exact fan or fan group.
- 2
Select a useful sensor
Prefer coolant for radiator behavior or CPU/GPU temperature for workload-specific airflow.
- 3
Create gradual points
Avoid large RPM jumps and preserve a nonzero safety floor where required.
- 4
Test a real workload
Run a game or workload for 15 to 20 minutes and confirm temperatures stabilize.
Choose the right temperature sensor
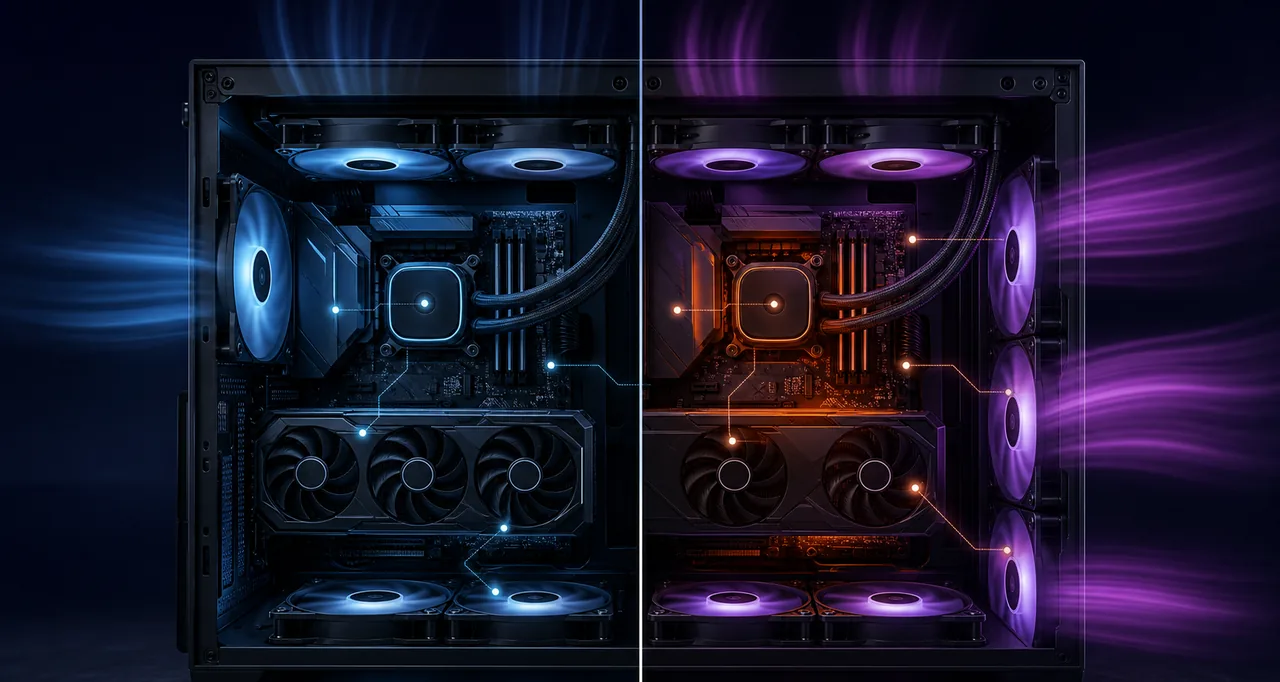
Choose the sensor that reflects the heat source and changes at a useful speed. CPU package temperature reacts quickly and can cause audible ramping. GPU temperature suits gaming-focused case fans. Coolant temperature is usually the calmest choice for radiator fans on a supported liquid cooler.
If a sensor is unavailable, do not select an unrelated value just because it appears in the list. Confirm support and use a stable preset until the intended sensor is visible.
| Sensor | Best use | Drawback |
|---|---|---|
| Coolant | Radiator fans and steady acoustics | Supported coolers only |
| CPU package | CPU-heavy work | Frequent speed changes |
| GPU | Gaming case airflow | Misses CPU-only heat |
| Fixed preset | Baseline testing | Less adaptive |
Save the original preset or note its values before experimenting.
Fix missing or unresponsive iCUE fans
Separate detection from control. If the controller is missing, check internal USB, power, hub cabling, firmware, and competing hardware-control apps. If the controller appears but one channel is absent, power down and test that fan on a known working port.
When RPM is visible but does not change, confirm the channel is not fixed, the correct sensor is selected, and the fan type matches the controller mode. Restart Corsair Device Control Service only after checking physical connections and saving profile changes.
- Close motherboard RGB and fan utilities during testing.
- Update to iCUE 5.69.97 from the Corsair-controlled source.
- Test one fan on one known-good port before rebuilding the chain.
- Avoid firmware updates during unstable power or repeated USB disconnects.
Quiet settings, limits, and common mistakes
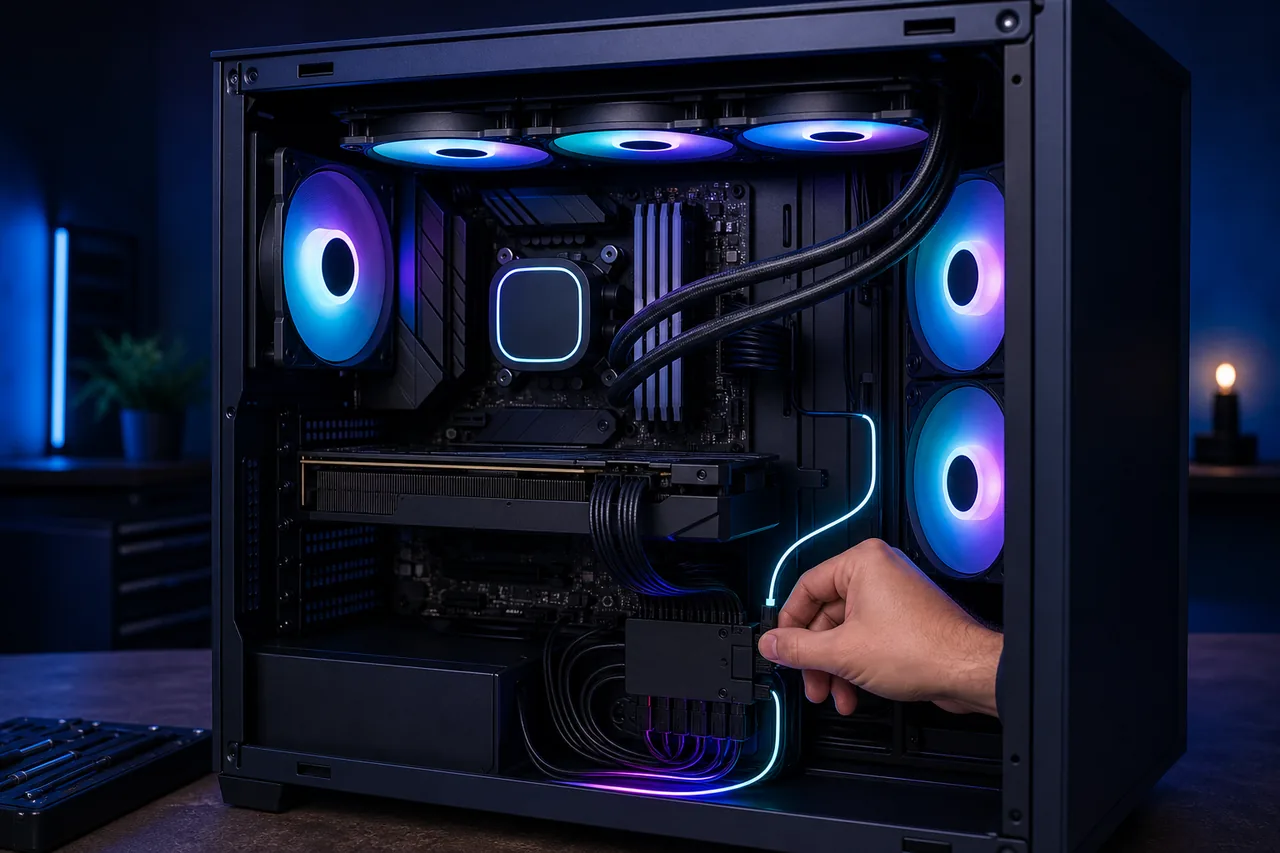
A quiet system is not silent at every temperature. Let fans stay slow during light work, but preserve enough airflow for the radiator, memory, storage, and motherboard components. Watch sustained temperatures rather than optimizing only for an idle screenshot.
Common mistakes include assigning every channel to CPU package temperature, copying another PC's curve, setting an unsafe zero-RPM floor, and running several control utilities together. Change one variable at a time and keep notes.
iCUE fan control FAQ
Can iCUE control fans connected to the motherboard?
Usually no. Motherboard-header fans are normally controlled in BIOS or the board vendor utility unless a supported Corsair controller exposes them to iCUE.
Why does iCUE fan speed keep changing?
The sensor may change too quickly or the curve may be too steep. Smooth the points and consider coolant temperature for supported radiator fans.
Should radiator fans use CPU or coolant temperature?
Coolant temperature is usually steadier, while CPU temperature reacts faster. Use the sensor supported by your cooler and test sustained temperatures.
Why is a fan visible but stuck at one RPM?
Check the preset, sensor, channel mode, controller firmware, and whether another utility is taking control.
Is zero RPM safe in iCUE?
Only when the exact device and cooling design support it. Do not stop pump-related or radiator airflow without verified guidance.